Historical IAM Role Setup Guide
IAM roles need to be configured for Historical to properly inventory all of your accounts. The following must be created:
- The
HistoricalLambdaProfilerole which is used to launch the Historical Lambda functions. - The
Historicalrole which theHistoricalLambdaProfilewill assume to describe and collect details from the account in question.
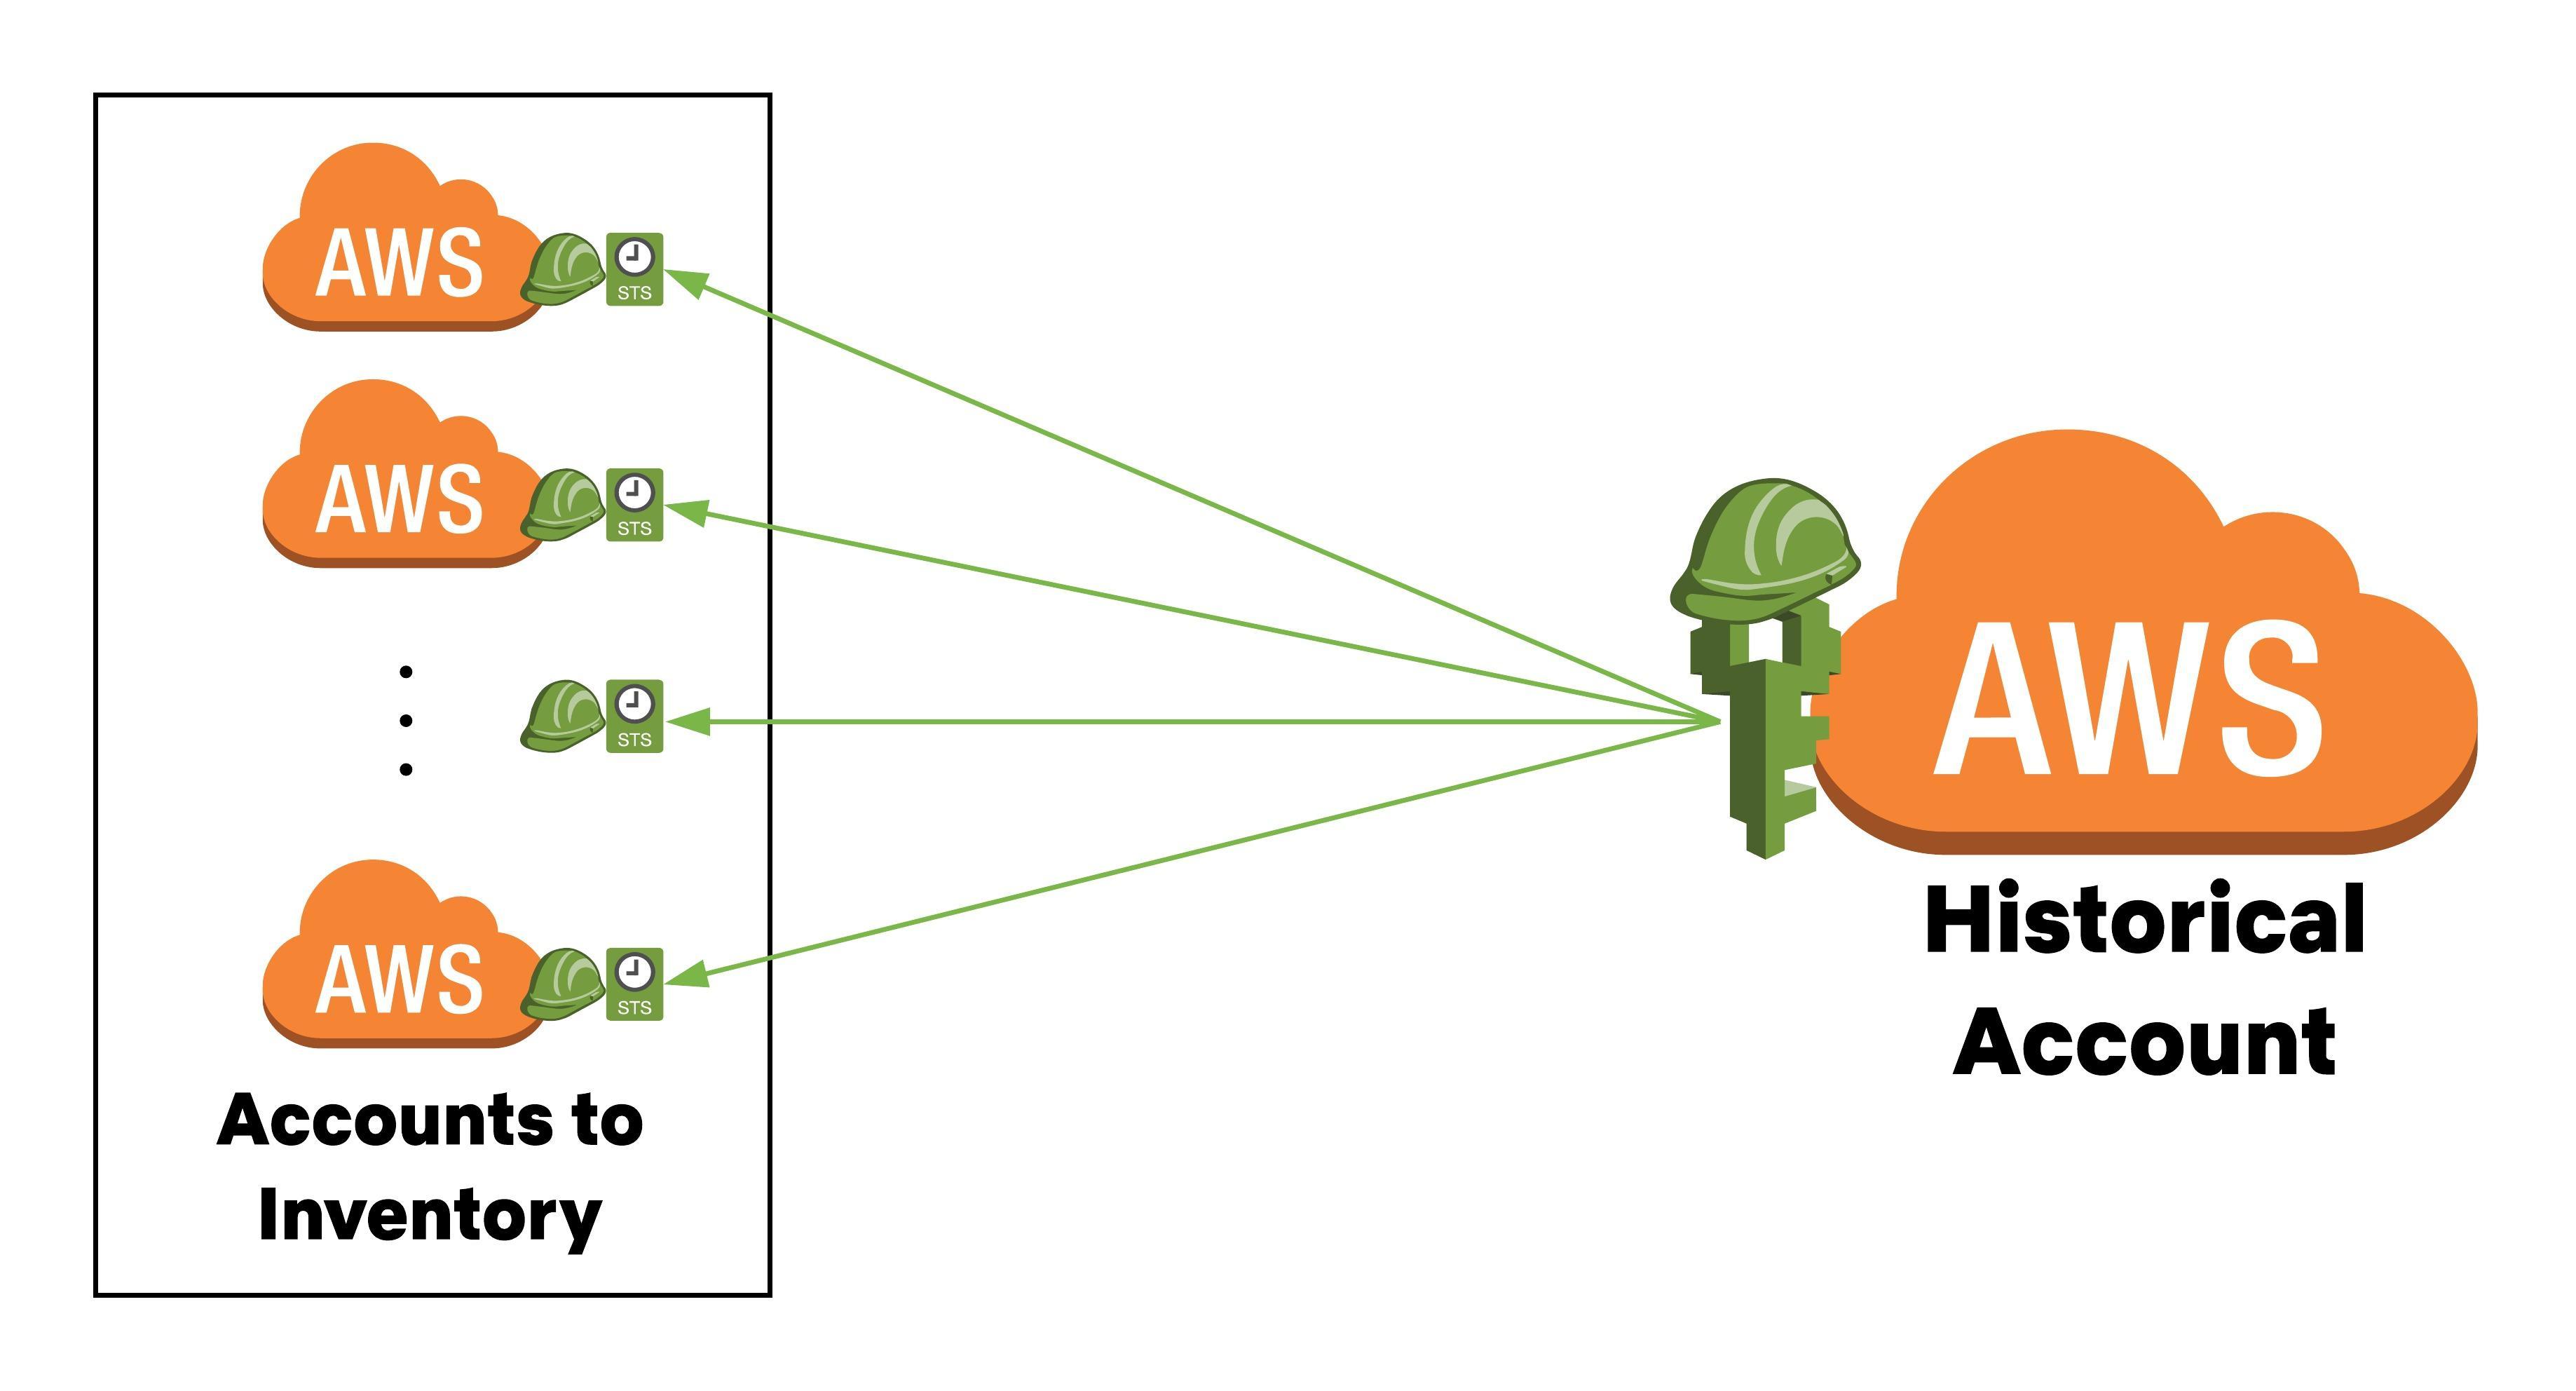
The architecture for this looks like this:
Instructions
Lambda Role
-
In the Historical account, create the
HistoricalLambdaProfileIAM Role. This role needs to permit thelambda.amazonaws.comService Principal access to it. Here is an example:Trust Policy:
{ "Version": "2012-10-17", "Statement": [ { "Effect": "Allow", "Principal": { "Service": "lambda.amazonaws.com" }, "Action": "sts:AssumeRole" } ] } -
This role is being executed by AWS Lambda and requires the
AWSLambdaBasicExecutionRoleAWS managed policy attached to it. This managed policy gives the Lambda access to write to CloudWatch Logs. VPC permissions are not required because Historical does not make use of ENIs or Security Groups. -
The role then needs a set of Inline Policies to grant it access to the resources required for the Lambda function to access the Historical resources. Please make a new Inline Policy named
HistoricalLambdaPermsas follows (substituteHISTORICAL-ACCOUNT-NUMBER-HEREwith the AWS account ID of the Historical account):{ "Version": "2012-10-17", "Statement": [ { "Sid": "SQS", "Effect": "Allow", "Action": [ "sqs:DeleteMessage", "sqs:GetQueueAttributes", "sqs:GetQueueUrl", "sqs:ReceiveMessage", "sqs:SendMessage" ], "Resource": "arn:aws:sqs:*:HISTORICAL-ACCOUNT-NUMBER-HERE:Historical*" }, { "Sid": "SNS", "Effect": "Allow", "Action": "sns:Publish", "Resource": "arn:aws:sns:*:HISTORICAL-ACCOUNT-NUMBER-HERE:Historical*" }, { "Sid": "STS", "Effect": "Allow", "Action": "sts:AssumeRole", "Resource": "arn:aws:iam::*:role/Historical" }, { "Sid": "DynamoDB", "Effect": "Allow", "Action": [ "dynamodb:BatchGetItem", "dynamodb:BatchWriteItem", "dynamodb:DeleteItem", "dynamodb:DescribeStream", "dynamodb:DescribeTable", "dynamodb:GetItem", "dynamodb:GetRecords", "dynamodb:GetShardIterator", "dynamodb:ListStreams", "dynamodb:PutItem", "dynamodb:Query", "dynamodb:Scan", "dynamodb:UpdateItem" ], "Resource": "arn:aws:dynamodb:*:HISTORICAL-ACCOUNT-NUMBER-HERE:table/Historical*" } ] }
Destination Account Roles
You will mostly likely need your own orchestration to roll this out. This will need to be rolled out to ALL accounts that you are inventorying with Historical.
The role is named Historical and has the following configuration details:
-
Trust Policy (substitute
HISTORICAL-ACCOUNT-NUMBER-HEREwith the AWS account ID of the Historical account):{ "Version": "2012-10-17", "Statement": [ { "Effect": "Allow", "Principal": { "AWS": "arn:aws:iam::HISTORICAL-ACCOUNT-NUMBER-HERE:role/HistoricalLambdaProfile" }, "Action": "sts:AssumeRole", "Condition": {} } ] } -
The
Historicalrole needs read access to your resources. Simply attach theReadOnlyAccessAWS managed policy to the role and that is all. -
Duplicate this role to all of your accounts via your own orchestration and automation.